Skip to main contentGetting Started with Relvy
Setting up your organization in Relvy is a straightforward process that will get you and your team collaborating in no time. Follow these steps to create your organization and invite your team members.
Sign Up & Create Your Organization
1.1 Sign Up to Relvy
- Visit the Relvy App and click on “Sign Up” to initiate the registration process.
- Choose your preferred authentication method:
- Sign in with Google
- Sign up with email and password
- SSO (contact support for configuration instructions)
- Follow the prompts to complete the authentication process.
1.2 Create an Organization
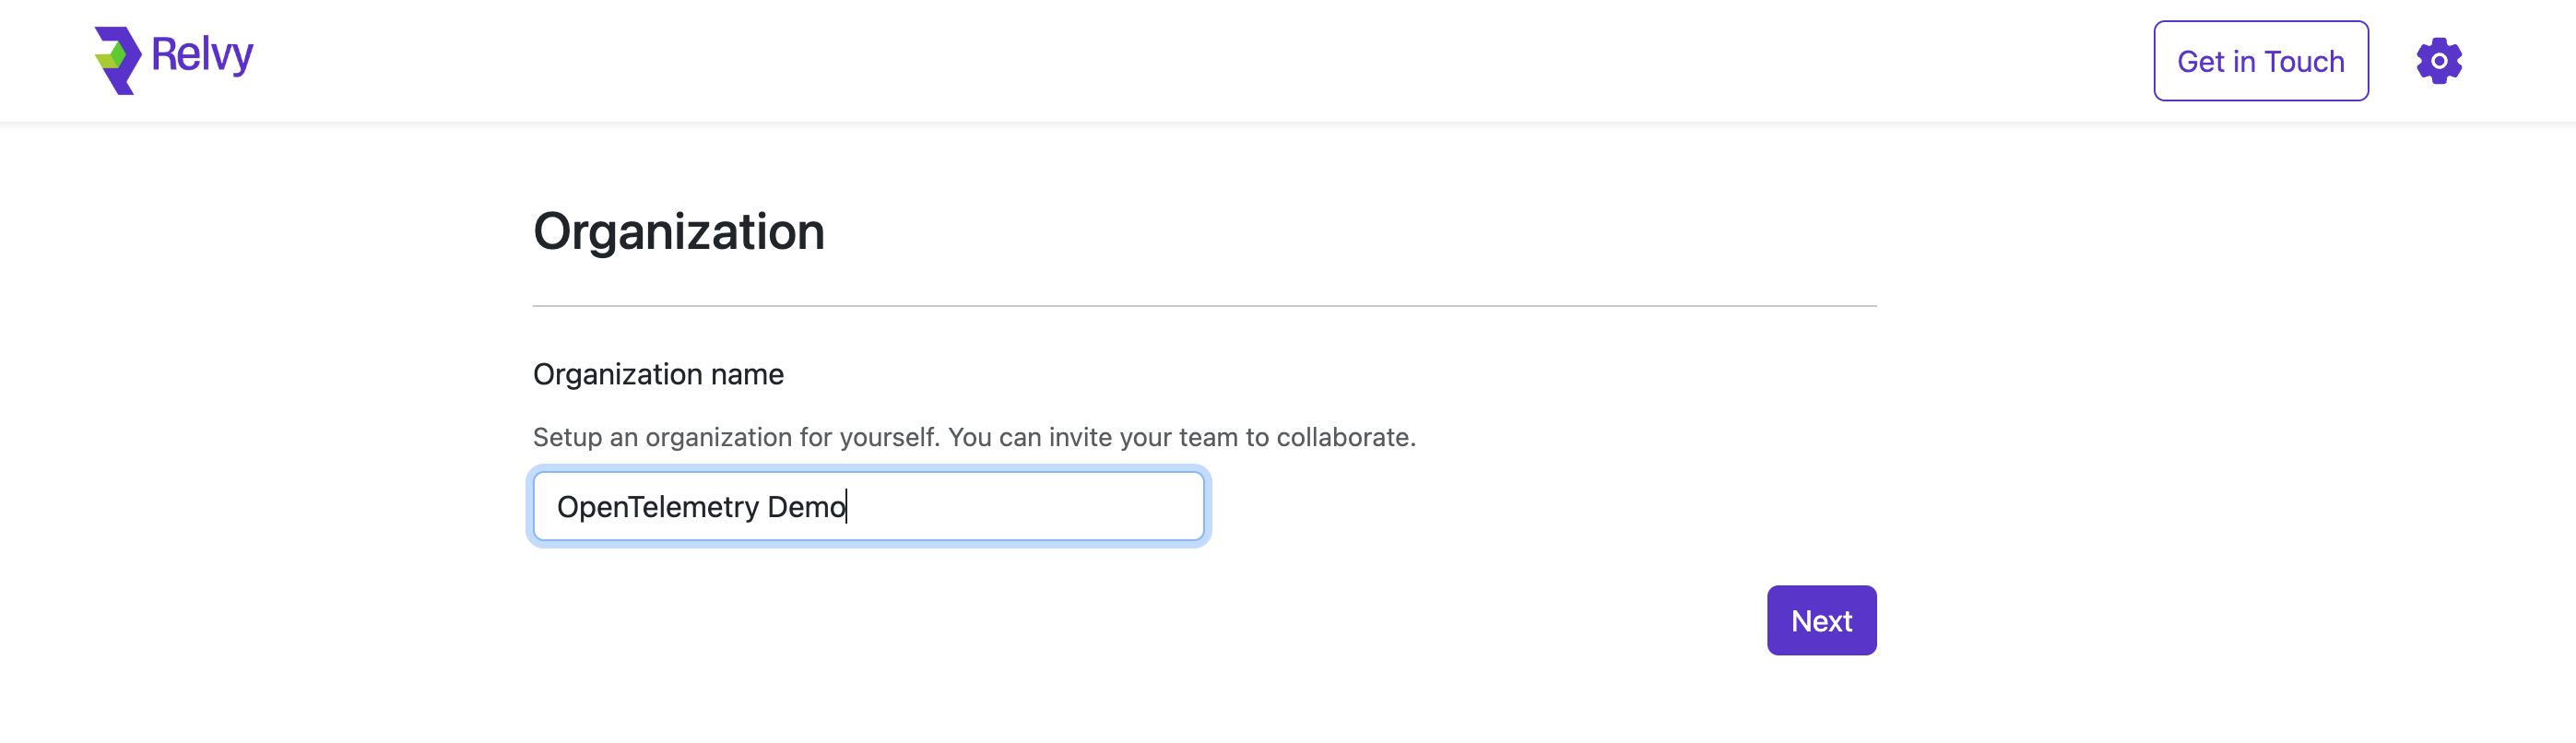
After signing in, you’ll be guided through the organization creation process:
- Enter your organization name (typically your company name)
- Click “Next” to proceed
Note: Choose an organization name that clearly identifies your team, as this will appear in shared resources and communications.
1.3 Create a workspace
A Relvy workspace is meant to capture all the context for a single team or project.
- Enter your workspace name (typically your team / project)
- Click “Next” to complete the initial setup
Next Steps
Now that your organization and workspace are set up, you’re ready to start using Relvy! Here are some recommended next steps:
If you need assistance at any point, our support team is available to help at [email protected].