Overview
Connecting GitHub to Relvy enables code-aware root cause analysis during incident investigations. Relvy’s AI agent can search and read your source code to understand system behavior, trace logic flows, and identify potential issues at the implementation level.Security First: Relvy only requests read-only access to your code repositories. No write permissions are required or requested. You maintain full control over which repositories Relvy can access.
Connection Methods
There are two ways to connect GitHub to Relvy, depending on your deployment:- SaaS Deployment: Use Relvy’s managed GitHub App
- Self-Hosted Deployment: Create and configure your own GitHub App
SaaS Users: Connect with Relvy’s GitHub App
If you’re using Relvy’s cloud offering, follow these steps to connect GitHub. Note that GitHub is connected once at the organization level, and repositories are then configured at the workspace level for each team.Step 1: Connect GitHub to Your Organization
- Log in to your Relvy account at app.relvy.ai
- Navigate to the GitHub section under your Organization settings
- Click on the provided link to install the Relvy GitHub App
Step 2: Install the GitHub App
You’ll be redirected to GitHub to complete the installation:- Select the target GitHub organization or account that contains your source code repositories
-
Choose which repositories you want to authorize:
- All repositories: Grant access to all current and future repositories (not recommended)
- Only select repositories: Choose specific repositories you want Relvy to access
- Review the permissions: Read access to code, merge queues, and metadata
- Click Install or Save to complete the authorization
Step 3: Test the Connection
After installation, you’ll be redirected back to your Relvy app:- Your GitHub integration should now show as connected at the organization level
- Click the Test button to verify the connection
- You should see a success message confirming Relvy can communicate with GitHub
- If the test fails, try disconnecting and reconnecting the integration
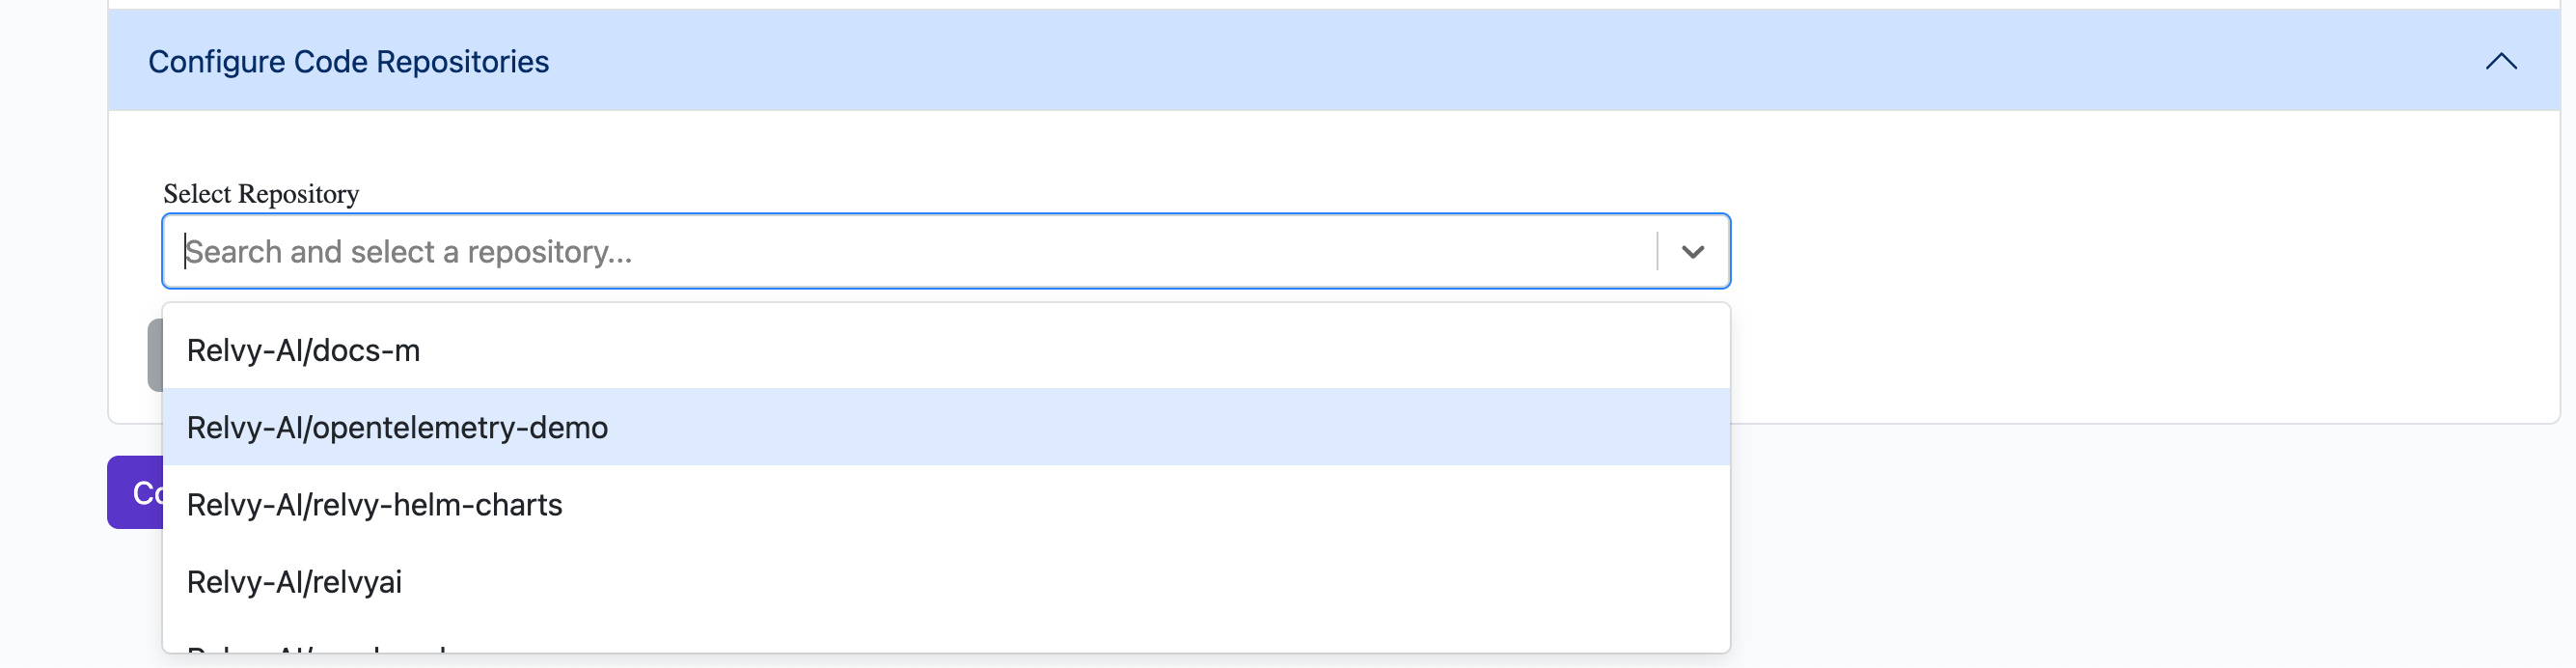
Step 4: Configure Repositories
Now configure which repositories your team will use for debugging incidents:- Navigate to Settings > Data Sources in your workspace
- Locate the “Configure Code Repositories” section
- Click Add Repository
- Select a repository from your authorized list
- Verify the Default Branch (typically
mainormaster) - Click Save
- Repeat for all repositories relevant to your team’s incident debugging
Self-Hosted Users
For self-hosted Relvy deployments, you’ll need to create and configure your own GitHub App. This gives you complete control over the integration and ensures all code analysis happens within your infrastructure. View Self-Hosted GitHub Setup Guide →Configuring Repository Access
Once GitHub is connected, you need to configure which repositories Relvy will analyze:Select Repositories for Analysis
- Navigate to Settings > Data Sources in your Relvy workspace
- Locate the “Configure Code Repositories” section
- You’ll see a list of all repositories you’ve authorized at the organization level
-
For each repository you want to add to your workspace:
- Click Add Repository
- Choose a repository from the authorized list
- Verify the Default Branch (usually
mainormaster) - Click Save
-
The repository will appear in your configured list with:
- Repository name (e.g.,
Relvy-AI/resolveml) - Default branch (e.g.,
main) - A delete button to remove it if needed
- Repository name (e.g.,
Next Steps
Now that GitHub is connected:- Configure which repositories to analyze in Settings > Data Sources
- Learn about GitHub integration capabilities
- Start investigating incidents with code-aware analysis